How To: Take & Share Photo Spheres on Your iPhone Using the New Google Camera for iOS
I've been using the Photo Sphere Camera from Google on all of my Android devices ever since it came out on Jelly Bean 4.2, which lets me create riveting 360° panoramic images.Apple has its own built-in panoramic mode, but it only takes 240° images, and I've never found any similar iPhone apps that I liked, though, Microsoft's Photosynth came close. Instead, I usually find myself making tiny planets with Circular+ more often than immersive 360° panoramas.Thankfully, Google has finally released their prized Photo Sphere Camera for iOS, available for free in the App Store. Go ahead and download the app and follow along with me below as I show off how to take and share cool Photo Sphere images on an iPhone, as well as a few of its other cool features. Please enable JavaScript to watch this video.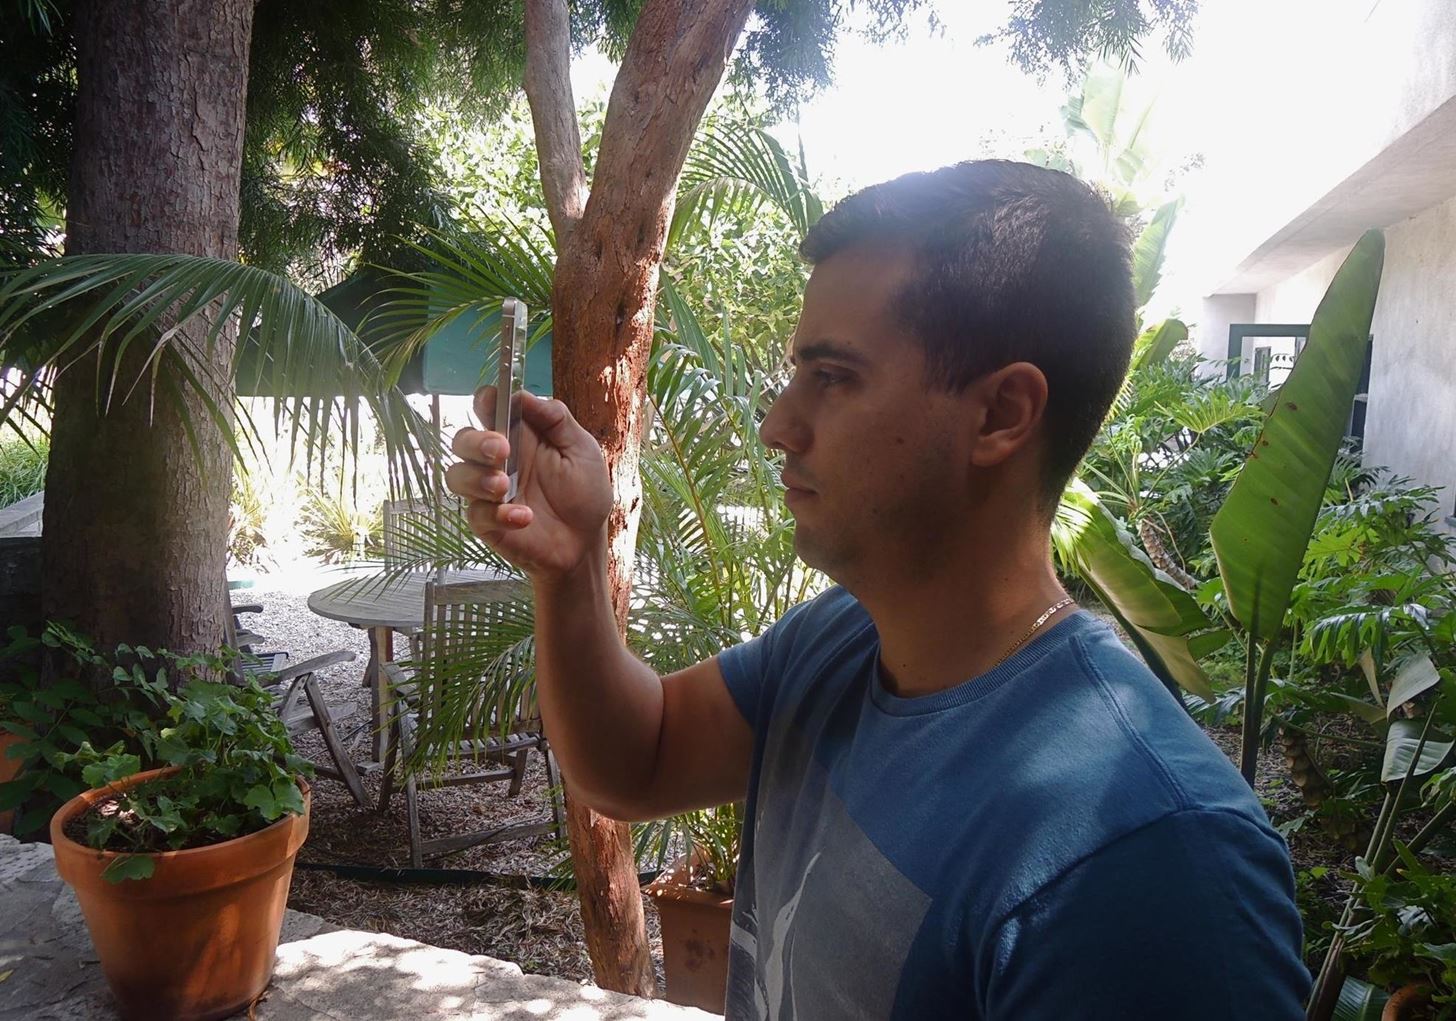
Taking a Photo Sphere ImageBefore you open the Photo Sphere Camera up, find somewhere to begin shooting. While outdoors is vastly preferable (because of the lighting and open space), indoors will do fine with a little practice, as long as nearby objects don't interfere.Now, open up the app and hold your phone vertically with both hands, no more than 12-inches from your face. The portrait orientation allows for betting "stitching" of photos, while the proximity to your body keeps the perspective close and controllable. When you're ready to begin shooting, tap on the orange camera icon at the bottom left corner and point the camera at the orange dot to begin.From there, rotate in a full circle, capturing all of the orange dots by centering them inside the camera circle. Google suggests capturing around the horizon first, then capturing below and above it—all at a slow pace. Make sure that your phone is in roughly the same position during this entire process. In case you accidentally stitch a wrong photo, tap on the undo icon at the bottom left. If you want to start over from scratch, tap on the X icon at the bottom right.While you only need 10 photographs stitched together to complete a Photo Sphere, I suggest you complete the entire thing to give the panorama a more well-rounded feel. Of course, you don't have to go the full 360 degrees, but there's nothing like an all-encompassing panorama shot.When the progress bar around the stop icon turns green, that's how you'll know you're finished. Tap it to begin processing.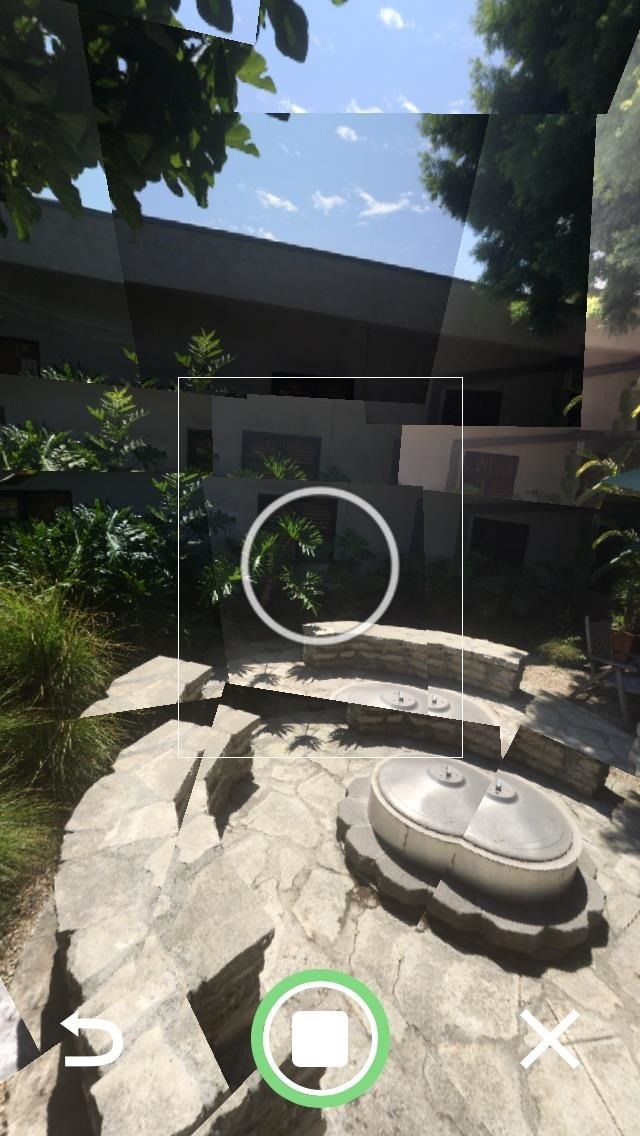
Processing Your Photo Sphere ImageOn the next page, your Photo Sphere will begin stitching together, taking anywhere from a few seconds to just under a minute, all depending on how many photographs you've taken. When it finishes processing, tap on it to view your final product. Below you can see a flattened Photo Sphere of the courtyard at the WonderHowTo HQ. You can check out the true Photo Sphere here on Google Maps. Using your finger, you can shift through the 360° view of your panorama in all its glory, or hit the Compass icon to move through your photo by moving your phone.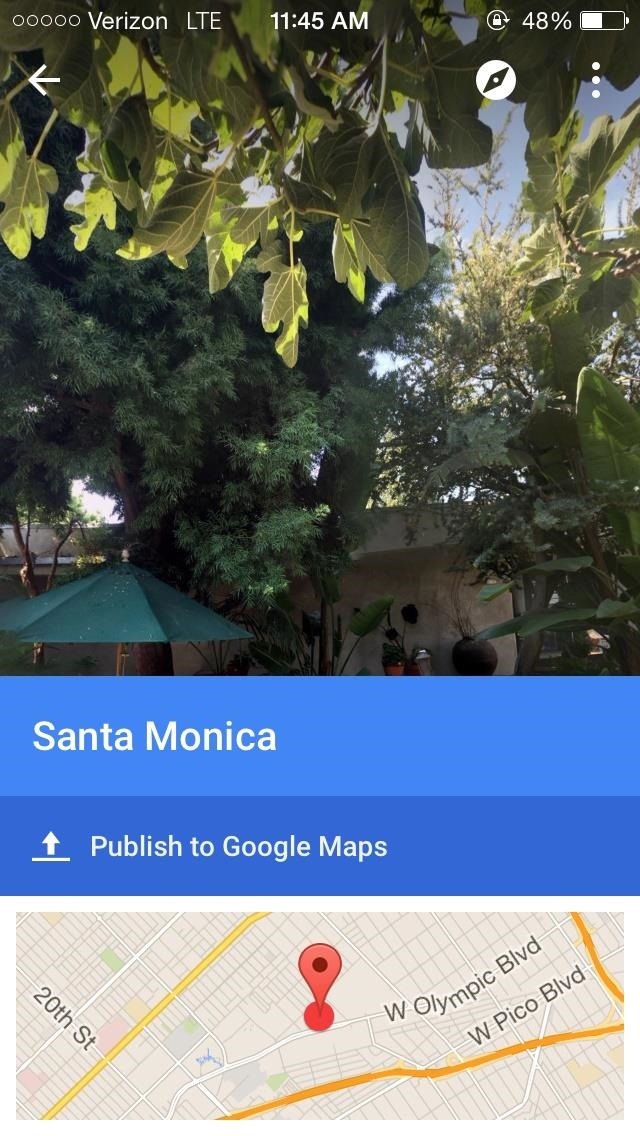
Sharing Your Photo Sphere ImageWhether it's the towering buildings in the city or just your neighborhood park, you can share your immersive Photo Spheres with others through Google Maps.Directly from the Photo Sphere Camera app, go to the Photo Sphere you want to share and tap on Publish to Google Maps. Select your Google account, then finish the process by tapping on Publish. When your Photo Sphere posts, others will be able to view it through either Google Maps or your Google+ page, along with your full name, the location it was taken, and the date it was created.In addition to Google apps, you can share your Photo Sphere through Facebook, Twitter, and email by tapping on the orange share icon on your Photo Sphere. Additionally, all Photo Spheres are saved to your Photos gallery. From there, you can share these like you would any other picture, but they will show as a panorama, rather than the immersive Photo Sphere.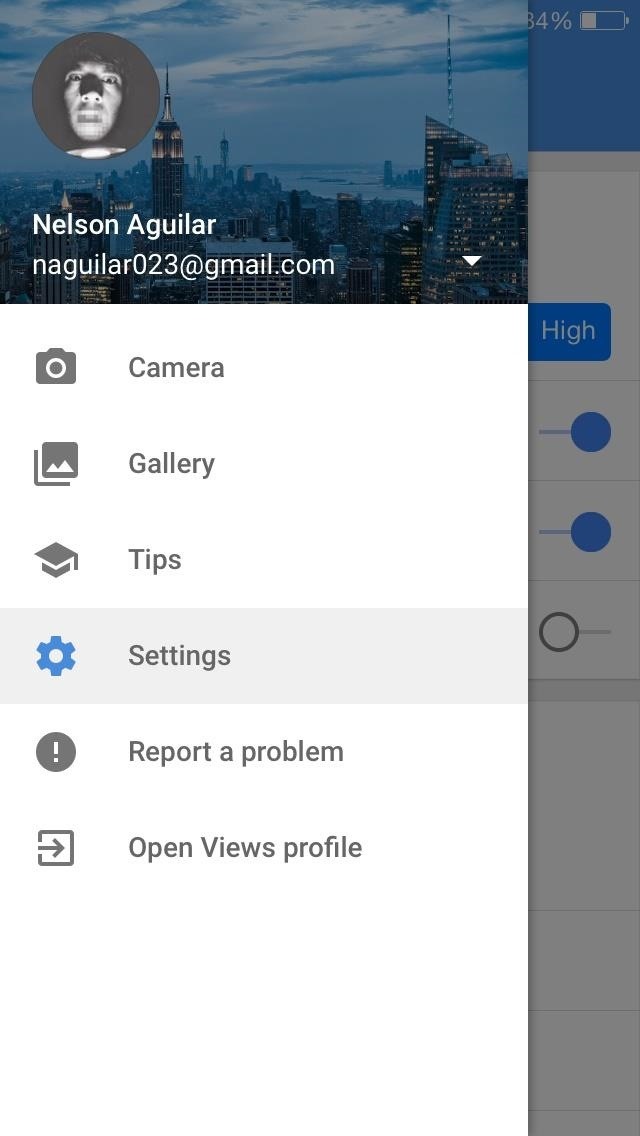
The Photo Sphere Camera SettingsIn order to access the settings, tap on the three-dash menu at the top left of the Photo Sphere Camera app. A side menu will appear where you can access the Camera, Gallery, Tips, and Settings.In the settings, you can change the resolution of your Photo Sphere, toggle geotagging, select whether Spheres are saved to an album in your Photos app, and select whether you want them to upload on a data connection or only when connected to Wi-Fi. Now that you know how to master the art of Photospheres, it's time to share your creations with us. Post the image in the comments below, or give a link to the image on Google Maps. Let's see what you've got.
What are the facilities that the GuestSpy provides you to spy on someones Facebook messages without touching their cell phone Hack a Facebook Account on Android / IOS. Eeeeeeeeeeeee Change Passwords Regularly Hack Other Peoples WhatsApp Free Using iPhone The Ultimate Facebook Prank : How To "Kill" Your Friends on Facebook by Faking Their Deaths
Tag: prank | Chaostrophic
Smart Drawer - Apps Organizer Is ginlemon,smartdrawer,personalization,smart,drawer application.Get Free Smart Drawer - Apps Organizer APK Free Download Version 1.0.1 (ginlemon.smartdrawer). App developed by Smart Launcher Team File size 3.86 MB.
JINA App Drawer, Sidebar & Folder Organizer | APK Download
Everybody wants faster internet. If you've ever had to wait for Netflix to buffer while watching Stranger Things, you've probably also wondered how to up your internet speed so you can finally find out when Eleven and Mike will see each other again.
How to speed up your internet SPEED 10000x faster - Boost
Google Chrome is a very popular Internet browser, but some times it runs into problems that make it unstable. In such cases, the only solution is to completely remove and re-install Chrome from scratch. This tutorial will show you how to remove Google Chrome completely from your computer and to re-install your favorite browser again.
How to fix Chrome not working on Windows 10 - addictivetips.com
Top 10 Photoshop Tricks You Can Use Without Buying Photoshop. Whitson Gordon. but you can still select areas in the same way with the regular lasso tool. Sometimes your photos get pretty
How To Get Photoshop For FREE! Download Photoshop For FREE
Camcorder XLR Adapters enable you to use mics with XLR connectors with a camera that only has a mini-plug input. Camcorder XLR Adapters are compatible with any kind of camera that features a mini-plug (1/8" or 3.5mm) stereo microphone input. Camcorder XLR Adapters feature a tripod thread at their base to mount onto a tripod.
How do I connect a professional microphone to a camcorder?
How To: Hack an Diebold eVoting machine in just a minute How To: Hack Michigan's optical scanner voting machines How To: Vote with an electronic voting machine in Pennsylvania How To: Operate the ELECTronic 1242 voting machine How To: Vote in Pennsylvania with electronic voting machines How To: Build a Morse code telegraph
Steal an election with Diebold machine in one minute - YouTube
Google Play Books vs Amazon Kindle: Comparing Android eBook Readers. Another noteworthy competition for the Amazon Kindle app is Google's own Play Books. reading books on phones is easier
How to Setup Amazon Kindle on Your Smartphone or Tablet
Photo Forensics: How to Check If a Picture Has Been
News: Google Pixel's Pros & Cons News: Google Pixel Reviews Are Out—Here's What People Are Saying News: 9 iMessage Apps You Won't Know How You Lived Without News: Google's Pixel Phone Is Taking All the Fun Out of Android, and That's the Point News: Apple & Samsung Bring Design Patents to the Supreme Court for the First Time 130 Years
Pixel 3a XL review: Google's triumphant return to affordable
The BT GNOW app is just the Blutooth's button intercept. You do not need this for it to work. To get voice dial from the google. That google bar on your android's home screen, not google chrome, there's a small microphone icon. click on that, and say nothing, the setting will open.
Voice For Replace Bluetooth Google With Dialer 's Now Better
0 comments:
Post a Comment