How To: Create a Bootable Install USB Drive of macOS 10.12 Sierra
While it hasn't gotten as much attention as iOS 10, Apple's big 10.12 update to their Mac operating system is finally out for all to enjoy—and you can download it for free from the Mac App Store right now.Don't Miss:60+ Cool New Features in iOS 10Siri is definitely the most tempting feature in macOS Sierra, which is more powerful than its iOS equivalent. Another great one is the ability to copy/paste between your iOS 10 device and Mac. You can also use Apple Pay in Safari, unlock your Mac with your Apple Watch, keep all your Mac's desktops and documents in sync, and use all the cool new iMessage features that iOS 10 already sports, among other things.If you have multiple computers that need the macOS Sierra upgrade, you'll want to create a bootable install flash drive. The download for macOS Sierra is about 5 GB, and could take some time downloading on each computer individually. So downloading it once and making a bootable USB stick is an easier, faster way to go.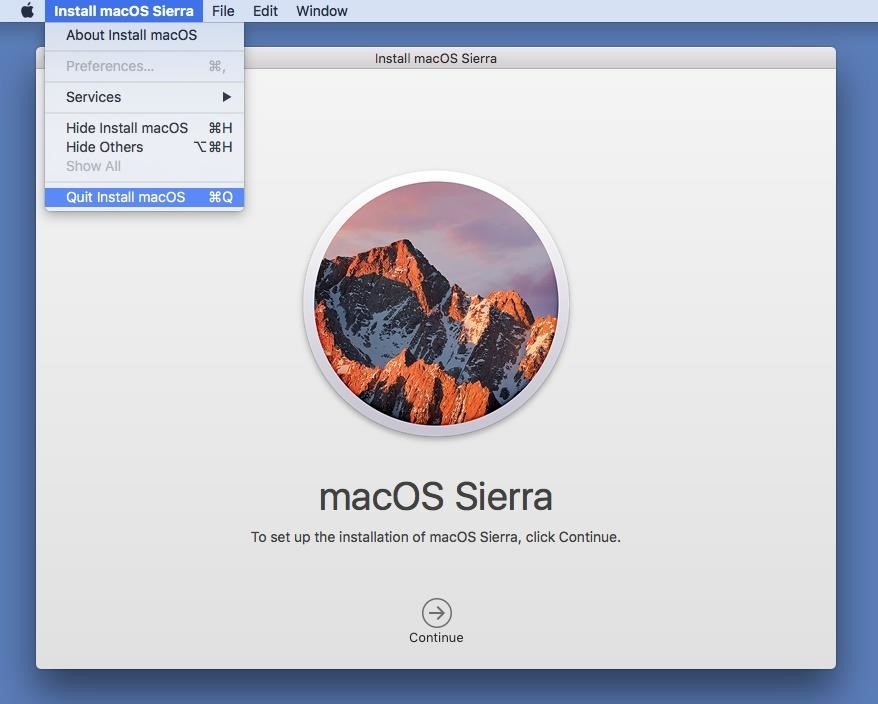
Step 1: Download the macOS 10.12 InstallerDownload the new macOS 10.12 Sierra from the Mac App Store—but don't install it when it finishes downloading. If you do, it will auto-erase the file when your system gets back up and running, which means you won't have the file for your USB drive.So, close out of the installation screen that pops up, if any.
Step 2: Get 'Install Disk Creator'Usually, I would use DiskMaker X to do this, but it does not officially support macOS Sierra just yet. There is a way to trick it into supporting it, but it's way less confusing to just use another application, namely, Install Disk Creator.After downloading the app, unzip it, then open it up. When the popup appears, hit Open. (You may need to adjust your Gatekeeper security settings.)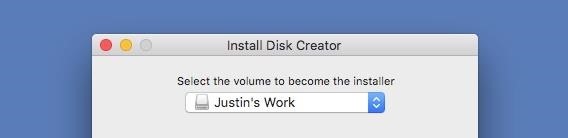
Step 3: Select Your USB Flash DriveI suggest using a USB flash drive with at least 16 GB of total space. It's possible an 8 GB one will work, but I've had issues with using 8 GB drives for more recent Mac installer files in the past.The following process will totally wipe your USB flash drive, so make sure that you back up all of your important files before proceeding, if any.When ready, select your flash drive in the drop-down menu in Install Disk Creator.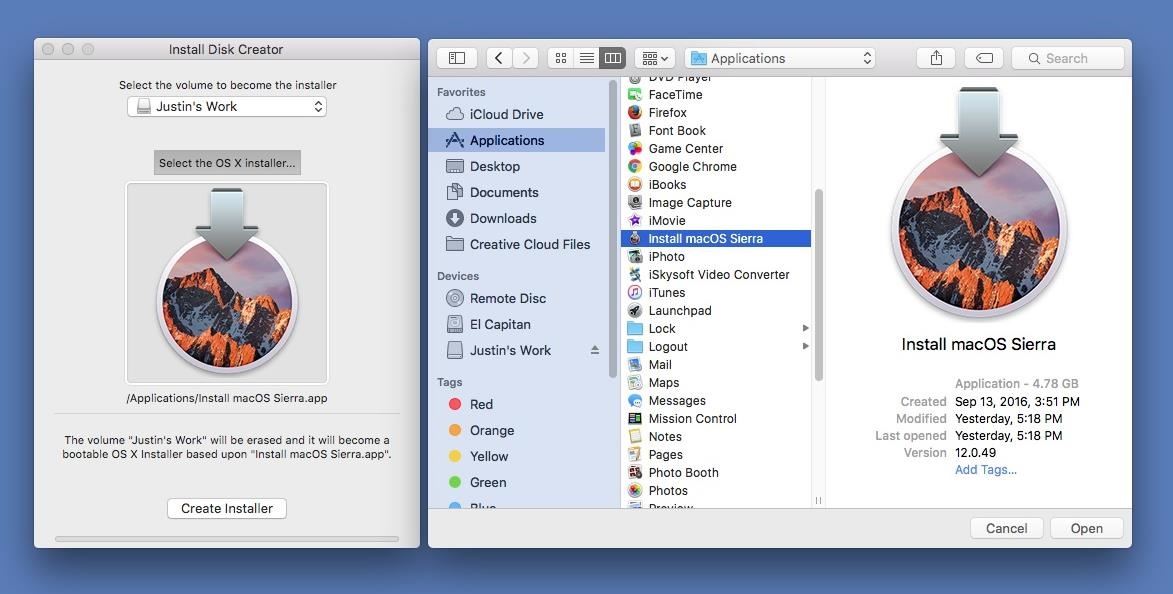
Step 4: Choose Your Sierra FileInstall Disk Creator will automatically detect your "OS X" installer file. If you have an old installer file from El Capitan or Yosemite installed, you might have to choose "Select the OS X installer" button, then navigate to your Applications folder and select "Install macOS Sierra."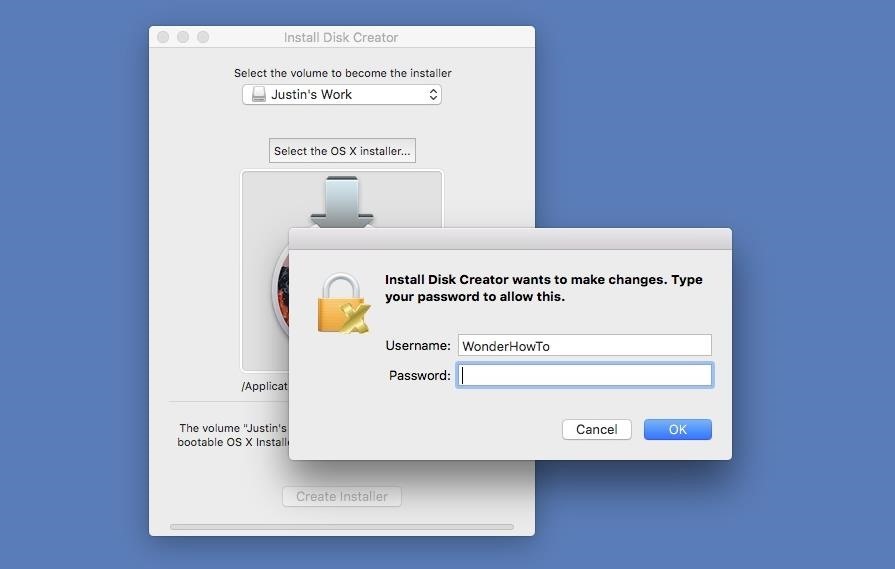
Step 5: Erase & Create the New DiskWhen ready, just hit the "Create Installer" button; You will need to enter your admin password to continue. As mentioned, this will erase your flash drive and turn it into a bootable macOS Sierra drive. So this is your last chance to stop and back up any important files on your flash drive before continuing. When the bootable drive is ready, you'll see a popup telling you so. The whole process took about 6-7 minutes for me, so it shouldn't take very long for you, either.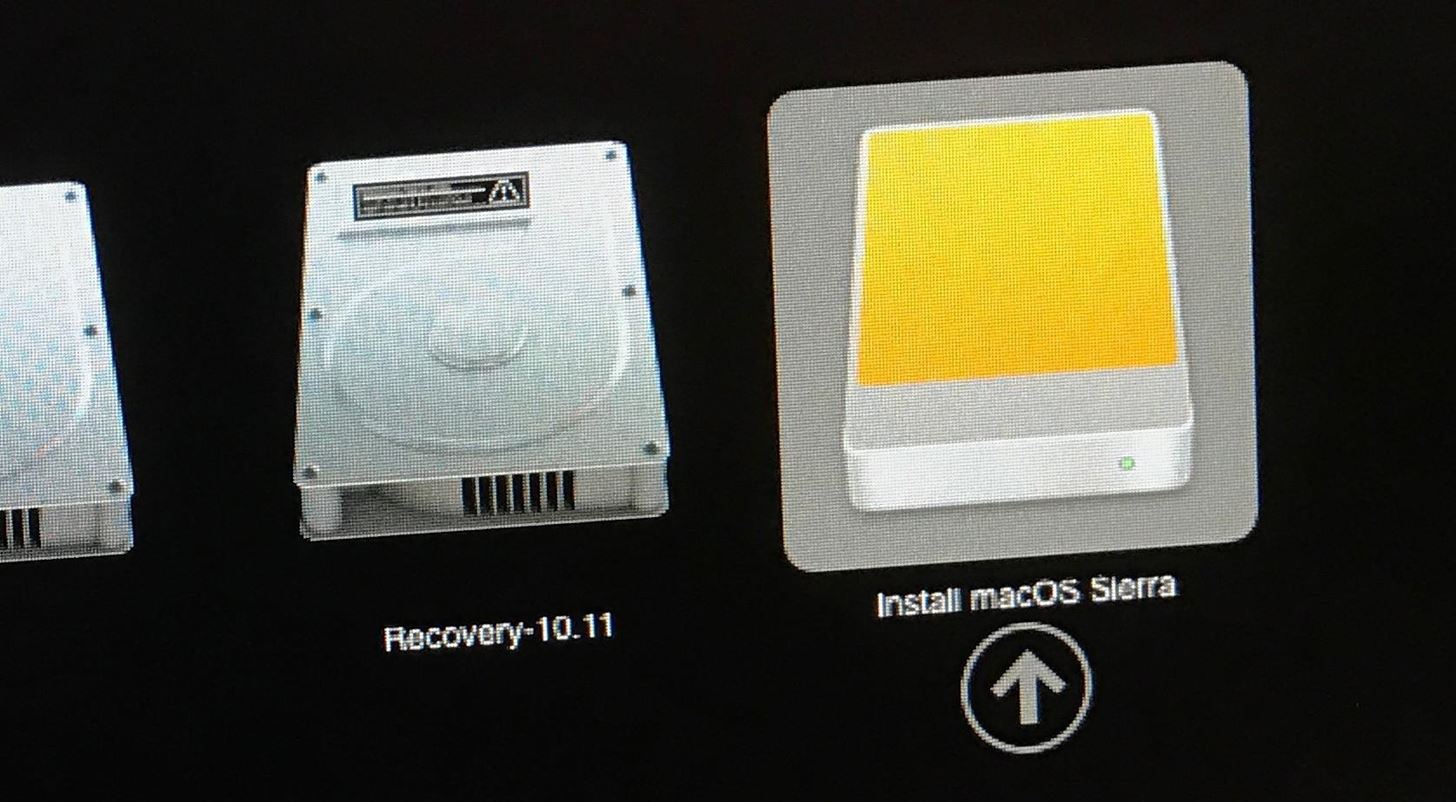
Step 6: Install macOS Sierra on Your ComputerNow that you're all set, it's time to install Sierra on your computer. Most devices are supported, but just in case, check out the basic list of Macs you can install Sierra on below (for features requirements, see here). Also, you'll need OS X 10.75 or later, 2 GB of memory, and at least 8.8 GB of available storage to upgrade your computer.MacBook (Late 2009 or newer) MacBook Pro (Mid 2010 or newer) MacBook Air (Late 2010 or newer) Mac mini (Mid 2010 or newer) iMac (Late 2009 or newer) Mac Pro (Mid 2010 or newer) Since this is the first version of the public release of macOS Sierra, you might want to create a separate partition on your Mac and install Sierra as a dual boot system with Mac OS X El Capitan. That way, you can play around with Sierra and easily switch back to El Capitan if you end up not liking the new operating system.With your bootable USB drive inserted in your computer, restart your Mac, then hold the Option (alt) key down on your keyboard until the Startup Manager appears. Select the macOS Sierra drive to continue. The macOS Utilities will open. Just select "Install macOS" from the list of options, then follow all of the on-screen prompts to start the installation process. After that, all you have to do is wait for it to boot back up with your new Sierra operating system! Repeat this final step for any other computers you want to install Sierra on.Follow Gadget Hacks on Facebook, Twitter, Google+, and YouTube Follow Apple Hacks on Facebook and Twitter Follow WonderHowTo on Facebook, Twitter, and Google+
Cover image (original) from alicephoto /123RF; screenshots by Justin Meyers/Gadget Hacks
Top Instagram Updates in March 2019. In this month's Instagram update, we're going to give you sneak peeks at all the upcoming features we're waiting on, including an Insta-checkout and new, great tools for influencer campaigns.
How to Sell Products with Instagram Shopping (and Shoppable
Earlier this month, Adam Cudworth, 19, launched a camera attached to a weather balloon into the edge of space. Battling tough winds, freezing temperatures, atmospheric pressure and tumbling speeds, the teenager from Worcestershire, England was able to capture these amazing pictures of the Earth's upper stratosphere.
Explore 10 incredible open-world games | PCWorld
In our last episode of our 10-part series on how to make a family tree we'll show you how to print your family tree using MyHeritage.com. It's fairly straightforward and gives you several options
Print Out Your Family Tree | FamilyTree.com
Tap Settings > [your name]. If you use iOS 11, tap Settings > [your name] > iCloud. Tap Share My Location. Tap [family member name] to share with that person. To stop sharing your location, turn off Share My Location. This hides your location from all of your family members and your approved friends.
How To: Automatically Hibernate Apps for Better Battery Life—No Root Required How To: Preserve Battery Life on Android in Just One Tap How To: Preserve Battery Life on Your Jelly Bean-Powered Samsung Galaxy S III How To: Fix Delayed Notifications on Your Galaxy S8 or S8+
10 tips to improve Android battery life - TechRepublic
How To: Install CyanogenMod 10.2 on Your Nexus 7 for a More Mod-Friendly Stock 4.3 Experience How To : Hack Your Nexus 7 into a Hybrid Android Tablet That Looks & Feels Like Both iOS & TouchWiz
While We Wait on LineageOS, You Can Still Install CyanogenMod
Report Ad
Check Out Laser Communication on eBay. Fill Your Cart With Color Today!
News: Cinemark Movie Club Is a Great Subscription for Occasional Filmgoers & Popcorn Addicts By Justin Meyers; Smartphones; Movies & TV; Cinemark may not be as big as AMC Theatres, but it also has a subscription if you want cheaper access to movie tickets.
Get the Best Gifts Discount Coupon Codes « Online Money
Make Your Own Live Wallapers (As Sh
Aug 17, 2014 · Google is probably logging your location, step by step, via Google Maps. Want to see what kind of data it has on you? Check out Google's own location history map, which lets you see the path you
What you need to know about your location history timeline
News: Every App Icon Change Apple Made on Your Home Screen in iOS 11 How To: Move Multiple Home Screen Apps at Once How To: This Mod Gives You Custom Icon Packs & More on the Pixel Launcher How To: Get Your Regular Dock Icons Back on Android Pie's Multitasking Screen
How to Bring Back Confirmation Prompts When Uninstalling Apps
How To: Transform a camera into a taser News: Taser dear friends with hacked camera Contest: My Disposable Camera Taser Friday Fresh: Make Your Own Police Taser & More News: Easy! Cell Phone Camera Macro Mod (5X Zoom)
Taser Camera Hack « Wonder How To
Mobile phones these days keep you connected anytime, anywhere. The Samsung Instinct is no exception, as it comes fully equipped with web-browsing on the go. Watch this video cell phone tutorial and learn how to connect to the internet on a Samsung Instinct
How to Use the basic Samsung Instinct cell phone functions
How To: Silence the Annoying Camera Shutter Sound on Your Samsung Galaxy S3 How To: Be a Multitasking Ninja with Floating Apps & Notifications on Your Samsung Galaxy S3 How To: Customize LED Alerts for Specific Notifications on Your Samsung Galaxy Note 2 (No Root Required)
0 comments:
Post a Comment